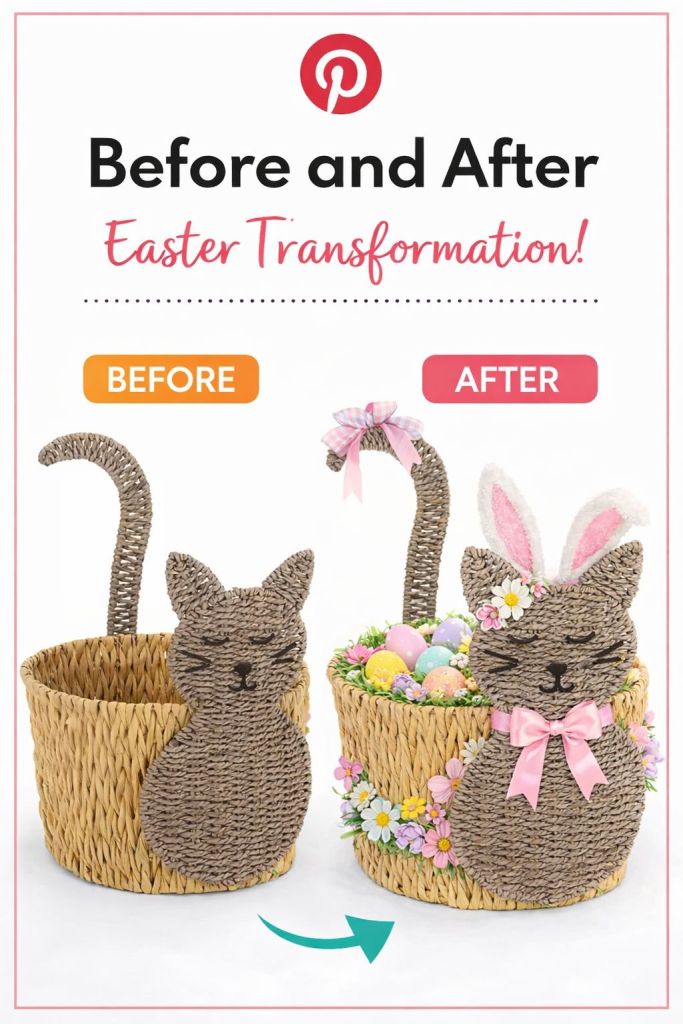
Turn a simple wicker cat basket into the cutest Easter decoration! This easy DIY Easter basket makeover uses pastel eggs, florals, ribbon bows, and bunny ears to create charming spring décor perfect for kids’ gifts, or Easter displays. Budget-friendly, beginner-friendly, and great family activity ❤️
Step-by-Step DIY: Easter Kitty Basket Makeover
What You’ll Need:
• Wicker cat basket
• Faux pastel Easter eggs
• Faux spring florals & greenery
• Soft ribbon (satin or gingham)
• Bunny ear headband or craft ears
• Hot glue gun & glue sticks
• Floral wire (optional)
• Basket filler grass
Complete List of Supplies with Alternative Options
Step 1 — Prep the Basket
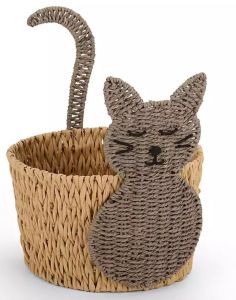
Clean and fluff the wicker. Shape the handle if needed.
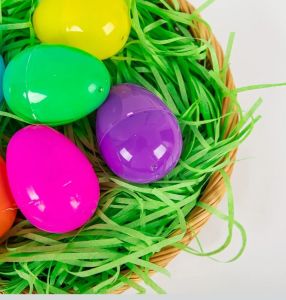
Step 2 — Add Basket Filler
Fill the inside with decorative grass to create volume.
Step 3 — Arrange Easter Eggs
Nestle pastel eggs into the filler. Mix sizes and colors.

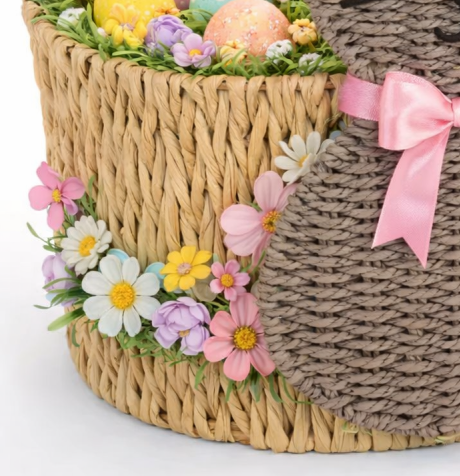
Step 4 — Attach Florals
Hot glue small floral clusters around the basket rim and base.
Step 5 — Create the Face Accent
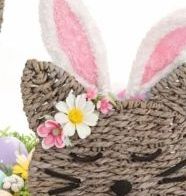
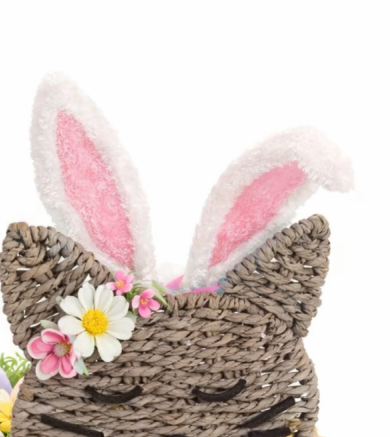
Glue a small floral piece near the kitty’s ear for charm.
Step 6 — Add the Bow
Tie a soft ribbon bow around the neck. Fluff for fullness.

Step 7 — Bunny Ears Moment 🐰
Attach bunny ears behind the head for a playful Easter twist.
Step 8 — Handle Detail:
Tie a matching ribbon bow on the handle.

Step 9 — Final Touches
Adjust eggs, fluff florals, and make it photo-ready!
